 Arjun Mehta
CI/CD Pipeline for Beginners: How to Automate Your Way From Code to Production
If you've ever pushed code, then spent the next twenty minutes manually running tests, building files, and SSH-ing into a server to copy them over, you already understand why CI/CD exists. A CI/CD pipeline takes that entire routine — testing, building, deploying — and turns it into something that happens automatically every time you commit. In this guide, we'll walk through what CI/CD actually means, how a pipeline is built piece by piece, which tools beginners should start with, and how to deploy that pipeline's output to a real server without breaking production the first week. Whether you're a solo developer shipping a Node.js app or a small team managing a WordPress staging-to-live workflow, the concepts here apply the same way.
What Is CI/CD, Really? (Continuous Integration vs. Continuous Deployment)
CI/CD is two related practices bolted together, and beginners often conflate them, which causes confusion later. Continuous Integration (CI) is the practice of merging code changes into a shared branch frequently — multiple times a day, ideally — and running automated tests against each merge so problems surface immediately instead of piling up. Before CI became standard, teams would work in isolation for weeks and then face "integration hell" when merging everything together. CI kills that by forcing small, frequent, tested merges.
Continuous Delivery is the next layer: after tests pass, the code is automatically packaged into a deployable artifact (a Docker image, a build folder, a compiled binary) and staged, ready to release with a manual approval step. Continuous Deployment goes one step further and removes the manual gate entirely — every commit that passes tests goes straight to production. Most teams, especially beginners, should start with continuous delivery and add full deployment automation later, once they trust their test coverage.
Here's a concrete example. Say you're building a Node.js API. Without CI/CD, your workflow is: write code, test it locally (maybe), push to GitHub, SSH into your VPS, pull the latest code, run npm install, restart the process manager, and hope nothing broke. With CI/CD, pushing to GitHub triggers a pipeline that runs your test suite, builds the app, and — if everything passes — deploys it to your server automatically, usually in under two minutes.
The trade-off beginners underestimate: CI/CD only helps if your tests are actually good. A pipeline that runs zero tests and deploys automatically isn't CI/CD, it's just automated deployment with extra steps and a false sense of safety. Build the test suite first, then automate around it.
The Core Stages of a CI/CD Pipeline
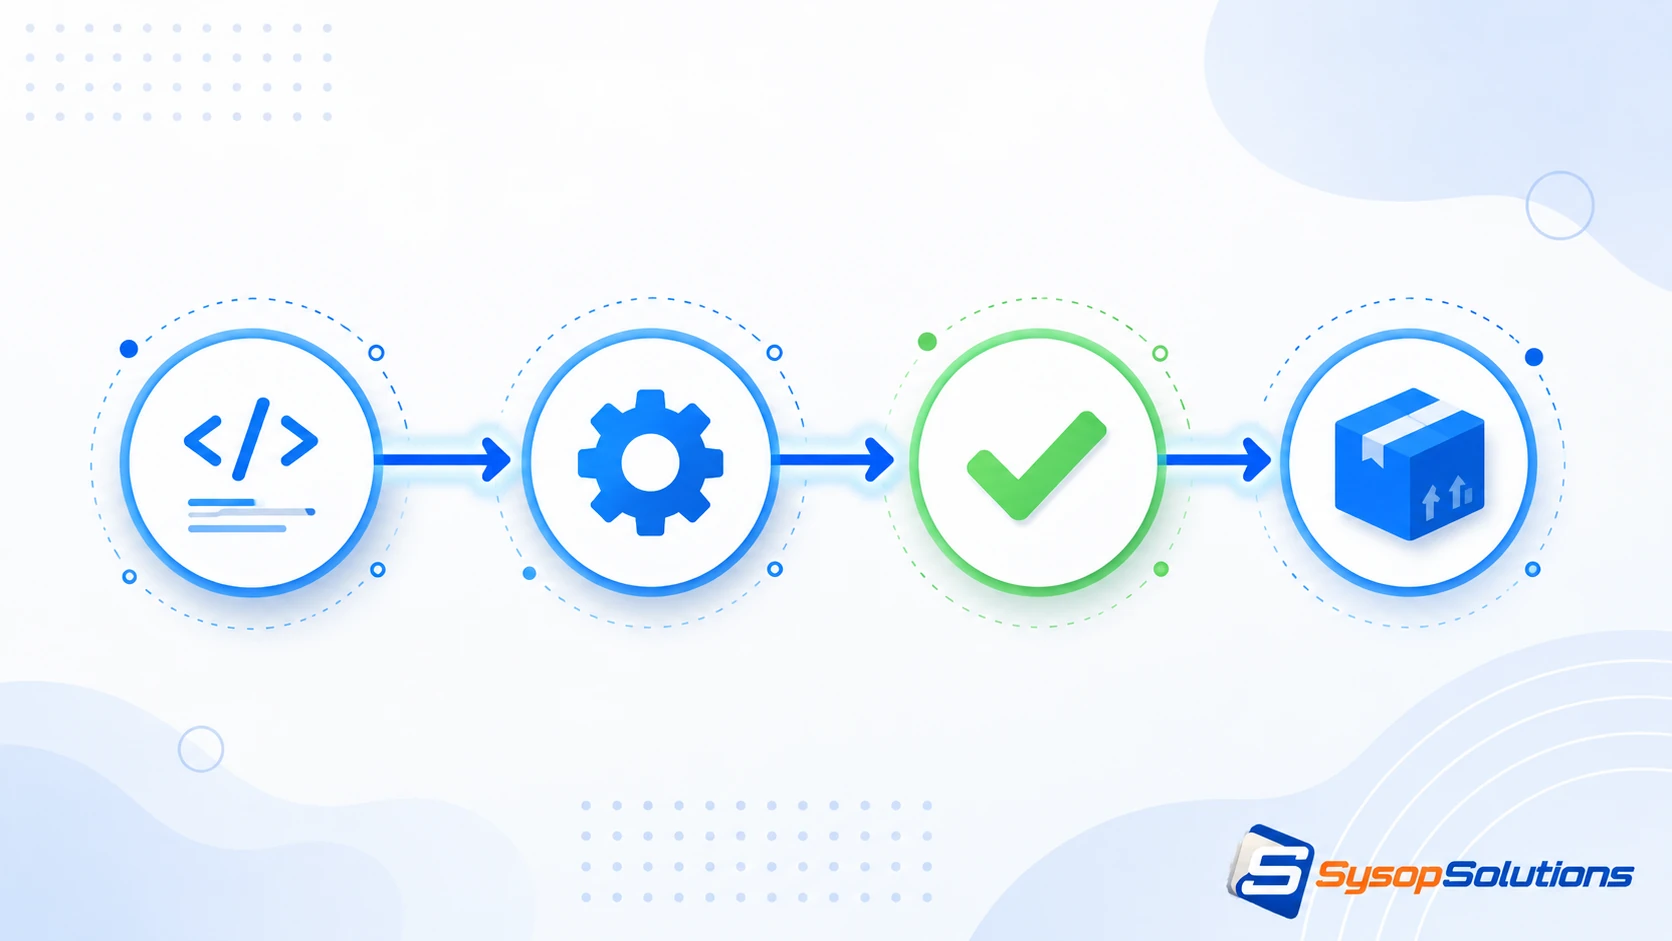
Every CI/CD pipeline, regardless of the tool running it, breaks down into the same functional stages. Understanding these stages matters more than memorizing any single tool's syntax, because the concepts transfer across GitHub Actions, GitLab CI, Jenkins, or CircleCI.
1. Trigger — Something kicks off the pipeline. Usually a git push, a pull request, or a scheduled cron-style trigger. You can also configure triggers on specific branches only (e.g., only main and staging trigger deployments, feature branches only trigger tests).
2. Build — The code gets compiled or assembled into a runnable form. For a static site, this might mean running npm run build to generate HTML/CSS/JS output. For a compiled language like Go, this is the actual compilation step. For Docker-based workflows, this is where the image gets built and tagged.
3. Test — Automated tests run against the build: unit tests, integration tests, sometimes linting and security scans. A well-structured pipeline fails fast here — if tests fail, the pipeline stops and nothing gets deployed. This is the single most important stage for catching bugs before users do.
4. Package/Artifact Storage — The tested build gets stored somewhere — a container registry, an S3-style bucket, or a build artifact store — so it can be pulled during deployment without rebuilding.
5. Deploy — The artifact gets pushed to a target environment: staging, production, or both in sequence. This might mean an rsync to a VPS, a kubectl apply to a Kubernetes cluster, or a container pull-and-restart on a Docker host.
6. Verify/Rollback — Mature pipelines include a post-deploy health check (does the app respond on port 443? does /health return 200?) and an automatic rollback if it doesn't.
A beginner pipeline doesn't need all six stages polished on day one. Start with trigger → build → test → deploy, and add packaging and rollback once the basics are stable.
Choosing Your First CI/CD Tool
The tool landscape is bigger than it needs to be for a beginner, so let's narrow it down by what you're actually working with.
GitHub Actions is the easiest entry point if your code already lives on GitHub. There's no separate service to configure — you drop a YAML file in .github/workflows/, and GitHub runs it on their infrastructure. It has a generous free tier for public repos and a reasonable one for private repos. For a beginner deploying a small app, this is usually the right starting point because there's zero infrastructure to manage.
GitLab CI/CD works the same way but is built into GitLab itself, using a .gitlab-ci.yml file at your repo root. If you're already on GitLab, there's no reason to bolt on a separate tool.
Jenkins is the older, more flexible, and more complicated option. It's self-hosted, meaning you run the Jenkins server yourself (commonly on a VPS), and it uses a plugin ecosystem that's powerful but has a real learning curve. Jenkins makes sense once your pipeline needs get complex — multiple environments, custom approval workflows, integration with legacy systems — but it's overkill for a beginner's first pipeline. It also means you're now responsible for patching and securing another server.
CircleCI sits between GitHub Actions and Jenkins in complexity — cloud-hosted like GitHub Actions, but with more configuration depth and a separate account/billing relationship.
Our recommendation for someone building their first pipeline: if your code is on GitHub, use GitHub Actions. You'll have something working in under an hour, and the YAML syntax you learn (jobs, steps, triggers, secrets) transfers conceptually to every other tool on this list.
Building Your First Pipeline: A Real GitHub Actions Example
Let's make this concrete. Say you have a simple Node.js app in a GitHub repo, and you want every push to main to run tests and then deploy to a VPS.
Your workflow file lives at .github/workflows/deploy.yml:
yaml
name: CI/CD Pipeline
on:
  push:
    branches: [main]
jobs:
  test:
    runs-on: ubuntu-latest
    steps:
      - uses: actions/checkout@v4
      - uses: actions/setup-node@v4
        with:
          node-version: '20'
      - run: npm install
      - run: npm test
  deploy:
    needs: test
    runs-on: ubuntu-latest
    steps:
      - uses: actions/checkout@v4
      - name: Deploy via SSH
        uses: appleboy/[email protected]
        with:
          host: ${{ secrets.SERVER_IP }}
          username: ${{ secrets.SERVER_USER }}
          key: ${{ secrets.SSH_PRIVATE_KEY }}
          script: |
            cd /var/www/myapp
            git pull origin main
            npm install --production
            pm2 restart myapp
A few things worth pointing out here because they trip up beginners specifically:
The deploy job has needs: test — this is what enforces the "don't deploy broken code" rule. If the test job fails, deploy never runs.
Secrets SERVER_IP, SERVER_USER, SSH_PRIVATE_KEY) are stored in GitHub's repo settings under Secrets and Variables, never hardcoded in the YAML file. This is non-negotiable — a leaked SSH key in a public repo's commit history is a real, common breach vector.
The deploy script itself is intentionally simple: pull latest code, reinstall dependencies, restart the process manager. This works fine for small apps on a single VPS. Once you're running multiple servers or containers, you'd swap this for a Docker-based deploy (pull image, docker compose up -d) or a Kubernetes rollout instead.
Common Beginner Mistakes That Break Pipelines
We see the same handful of mistakes repeatedly when people build their first CI/CD pipeline, so it's worth naming them directly.
No tests, or tests that don't actually test anything. A pipeline that runs npm test against a suite with three trivial assertions gives you false confidence. If your test coverage is thin, your CI/CD pipeline is really just "automated deployment," and every bug ships straight to production just as fast as before — only now it feels safer than it is.
Deploying directly to production with no staging environment. Every push to main going straight to your live server means every mistake is a live incident. A better structure: pushes to a develop branch deploy to staging automatically; merges to main deploy to production, ideally with a manual approval gate in the pipeline (GitHub Actions supports this with "environments" and required reviewers).
Hardcoded secrets and credentials. Beyond SSH keys, this includes database passwords, API keys, and cloud credentials pasted directly into workflow files. Use your CI tool's secrets manager every time, without exception.
No rollback plan. If a bad deploy makes it through, how do you get back to the last working version? A tagged Docker image registry or a simple git checkout <last-good-commit> deploy script solves this, but only if you set it up before you need it, not during an outage.
Overbuilding the first pipeline. Beginners sometimes try to build a pipeline with multi-stage environments, blue-green deployments, and canary releases before they've deployed anything at all. Start with trigger → test → deploy to one server. Add complexity once that's boring and reliable.
Ignoring build times. A pipeline that takes 25 minutes per run because it reinstalls all dependencies from scratch every time will slow your team down and get bypassed. Caching dependencies (most CI tools have a built-in caching action) can cut that to under a minute for unchanged dependency trees.
Deploying Your Pipeline's Output: Where Sysop Solutions Fits In
Everything above assumes you have somewhere to deploy to — a server that's reachable via SSH, running long enough to serve traffic reliably, and configured with the runtime your app needs (Node, PHP, Python, Docker). This is where a lot of beginner pipelines stall out: the pipeline itself is fine, but the deploy target is a shared hosting plan with no SSH access, or a VPS that's misconfigured and falls over under load.
Our VPS plans give you full root SSH access from day one, which is the baseline requirement for any script-based CI/CD deploy step like the SSH example above. If you're deploying containerized apps, our infrastructure supports Docker and Docker Compose out of the box, so your pipeline's "deploy" stage can be as simple as docker compose pull && docker compose up -d over SSH.
For teams running WordPress alongside a custom app — a common setup for agencies — we also support Git-based deployment workflows on our managed hosting, so your pipeline can push theme and plugin changes without manual FTP uploads. And because your CI/CD pipeline is only as reliable as the server it deploys to, consistent uptime and predictable server response under deploy-triggered restarts matter more than people expect until they've been burned by a flaky host mid-deploy.
Get a Deployment Target Your CI/CD Pipeline Can Actually Rely On
Your pipeline is only half the equation — the other half is a server that doesn't choke every time it restarts a service or pulls a new image. Sysop Solutions VPS plans give you full root access, Docker support, and predictable performance so your automated deploys land clean, every time.
Comments
No comments yet. Be the first to comment!