 Arjun Mehta
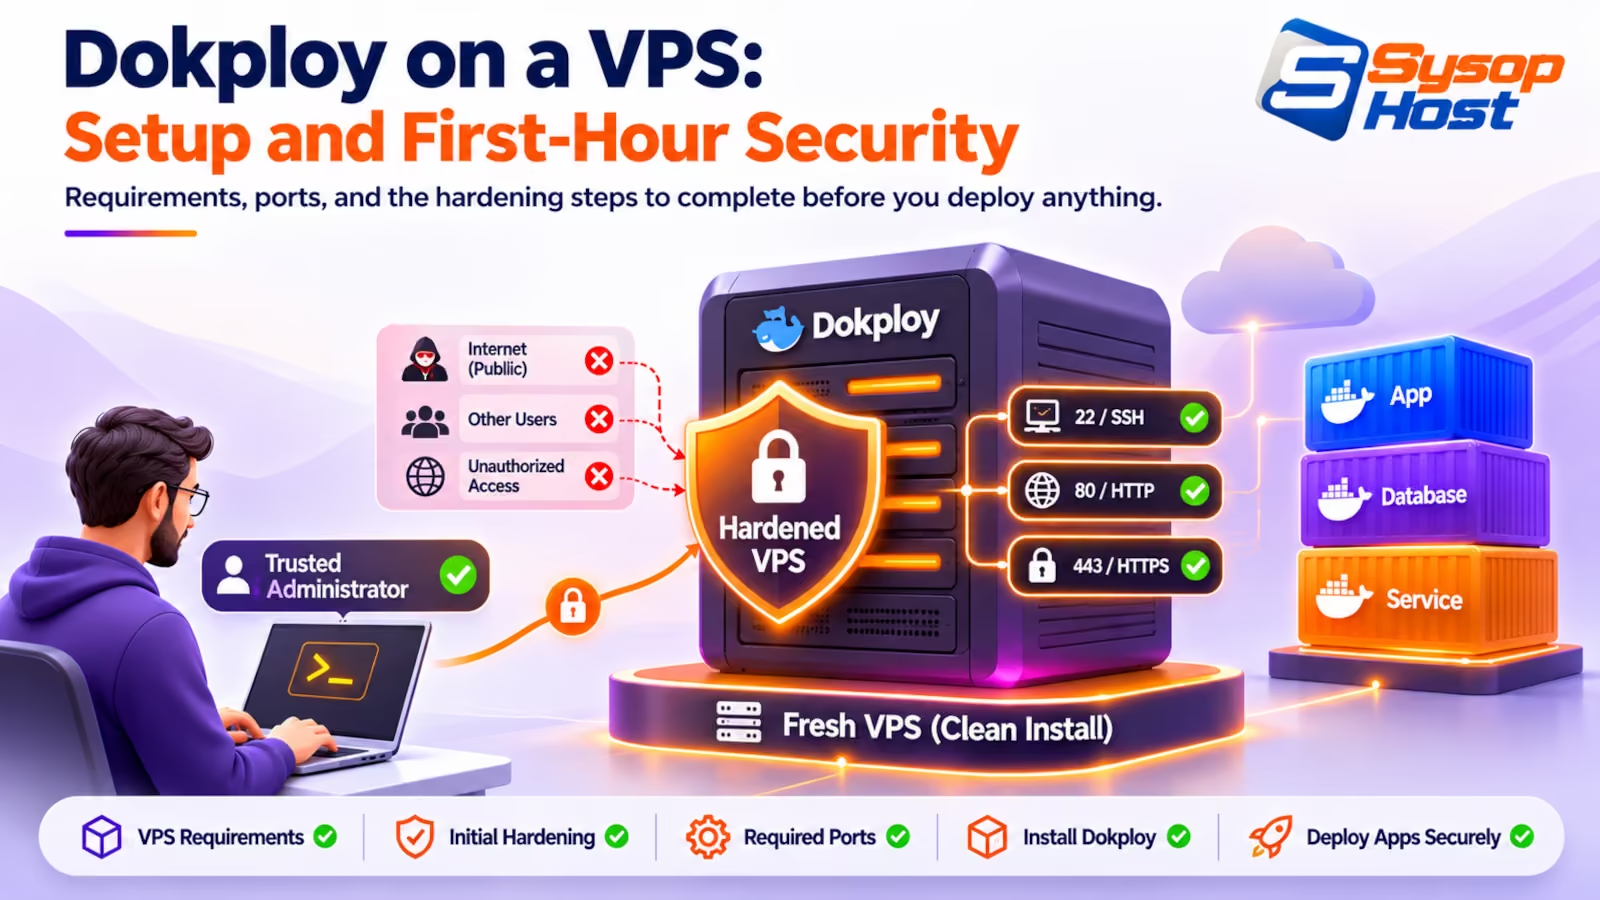
A Dokploy VPS setup takes minutes, but the defaults deserve scrutiny: the panel controls containers, credentials and a Docker socket. This guide covers server sizing, the ports to free, and the first-hour hardening that keeps an internet-facing control plane from becoming the weakest link.
Dokploy turns a rented Linux VPS into a Heroku-style deployment platform: connect a Git repository, get automatic builds and HTTPS, manage databases and backups, and scale across servers with Docker Swarm. The install is famously short — curl -sSL dokploy.com/install.sh | sh — and the panel is ready in minutes. A Dokploy VPS setup is therefore as much a security decision as a convenience one.
That speed hides an important fact. The dashboard is not an ordinary admin page; it controls containers, domains, credentials and a Docker socket. An exposed setup screen or an over-permissive firewall is an infrastructure-level problem, and the November 2026 advisories showed how user-controlled fields can reach host-level commands.
This guide covers the unglamorous part: what the server needs, which ports must be free, and what to lock down in the first hour.
Key takeaways
Dokploy's documented minimum is 2 GB RAM and 30 GB disk, but production with databases and builds is more comfortable at 4 GB RAM and 50 GB+.
Ports 80, 443 and 3000 must be free; the installer stops if another service holds them.
Port 3000 is for initial setup only. Restrict it to your IP, then move the panel to a domain with HTTPS and close it.
Create the admin account immediately — until you do, anyone who reaches port 3000 can create it.
Use a fresh VPS. Installing over an existing nginx, Apache or control-panel setup is a conflict, not a migration plan.
Choose the server
Dokploy's installation page lists tested distributions including Ubuntu 24.04, 22.04 and 20.04 LTS, Debian 12/11/10, Fedora 40 and CentOS 8/9. Ubuntu 22.04 or 24.04 LTS and Debian 12 are the safe choices for a new installation.
The documented floor is 2 GB RAM and 30 GB disk, chosen to handle Docker's build-time resource use "and prevents system freezes". Treat that as a floor, not a target. One guide's practical production starting point is 2+ vCPU, 4 GB RAM, 50 GB SSD and a public IPv4 address, with more for large builds, several databases or many client projects. A small swap file is an emergency buffer, not a substitute for memory.
Avoid installing on a server already running websites. The installer initialises Docker Swarm, starts Traefik and claims ports 80 and 443. It checks for busy ports and exits before changing anything, but that check is not a migration strategy.
Free the required ports
Port | Purpose | Exposure |
|---|---|---|
22/TCP | SSH administration | Your IP only |
80/TCP | HTTP and ACME validation | Public |
443/TCP | HTTPS application traffic | Public |
443/UDP | HTTP/3 through Traefik, optional | Public if used |
3000/TCP | Initial Dokploy setup | Your IP only, then close |
Check before installing:
sudo ss -tulpn | grep -E ':(80|443|3000)[[:space:]]'If nginx or Apache is already bound to 80 or 443 on a dedicated box, stop and disable it before running the installer:
sudo systemctl stop nginx apache2 2>/dev/null
sudo systemctl disable nginx apache2 2>/dev/null
Do not expose Docker Swarm management or overlay network ports to the internet for a single-node setup.
Set a narrow firewall first
A sensible first-hour firewall allows SSH from your own address, public HTTP/HTTPS, and port 3000 from your address only:
sudo ufw default deny incoming
sudo ufw default allow outgoing
sudo ufw allow from YOUR.ADMIN.IP to any port 22 proto tcp
sudo ufw allow 80/tcp
sudo ufw allow 443/tcp
sudo ufw allow from YOUR.ADMIN.IP to any port 3000 proto tcp
sudo ufw enable
sudo ufw status verbose
If your provider has a cloud firewall, mirror the same rules there. Port 3000 should never become a permanent public admin endpoint.
Install carefully
Run the installer as root or with sudo:
curl -sSL dokploy.com/install.sh | shTwo quirks are worth knowing. The script must run as root, and sudo resets exported environment variables — pass options such as ADVERTISE_ADDR inline after sudo rather than exporting them first. If the installer picks the wrong IP for Swarm, set ADVERTISE_ADDR; if the Swarm network clashes with your provider's VPC, set DOCKER_SWARM_INIT_ARGS.
The script sets up Docker if needed, initialises Swarm, creates the network, and starts the panel, its PostgreSQL database and Traefik. Give it a few seconds, then open http://SERVER_IP:3000.
The first hour
1. Create the admin account immediately. One installation guide puts the warning plainly: until you create the admin account, anyone who opens port 3000 can create it and take control of every container on the server. Do this before anything else.
2. Use a strong, unique password and enable 2FA. The panel holds credentials for Git providers, registries and servers.
3. Put the panel behind a domain with HTTPS. Point a DNS record at the VPS, configure the panel domain in Dokploy and let Traefik issue a certificate. Then remove direct IP-and-port access.
4. Review members and roles. The November advisories mostly assume invited members or users who can create services. Keep membership minimal and use the least-privileged role that works. Custom roles and fine-grained RBAC are available.
5. Be careful with preview deployments on public repositories. Dokploy's documentation advises against previews on public repos because outsiders could trigger builds on your server.
6. Check local accounts. One November advisory reported that the installer set /etc/dokploy to world-writable (0777) through v0.31.0, with no patched version listed in the summary reviewed; it does not apply to single-user hosts without non-root accounts. Verify current official guidance before changing permissions yourself.
7. Configure backups and monitoring. Schedule database and volume backups to off-server S3 storage, set up external uptime alerts, and monitor disk usage — images and build cache fill disks quietly.
8. Patch to the current release. See the upgrade guide in this batch for the safe sequence. v0.31.1 and v0.31.2 contain substantial security fixes.
What the panel can do — and why it matters
Dokploy manages applications, databases, domains with automatic TLS, schedules, backups, remote servers and Swarm nodes. That convenience comes from holding privileged access: multiple 2026 advisories reached host-level command execution through fields as ordinary as a volume name or a Compose path. Treat panel access as equivalent to server access, not as a CMS login.
Practical implications:
Do not give panel accounts to people you would not give SSH access to.
Keep API keys and registry credentials out of repositories and client config files.
Run untrusted workloads away from the control-plane host where possible.
Assume a compromised member account can become a host compromise and plan accordingly.
A pre-flight and first-hour checklist
Fresh VPS, supported distribution, public IPv4
4 GB RAM / 50 GB disk or documented minimum understood
Ports 80, 443 and 3000 free
Firewall restricts SSH and port 3000 to your IP
Installer run as root with correct advertise address
Admin account created immediately with 2FA
Panel moved to a domain with HTTPS
Port 3000 closed to the public
Members and roles reviewed
Preview deployments on public repos disabled
Off-server backups and external monitoring configured
Instance updated to a patched release
Sizing for real workloads, not the install screen
The documented 2 GB / 30 GB minimum describes the panel, not your ambitions. Docker builds are the main variable: a Node.js or PHP build is modest, while Java, Rust or large monorepos can consume both cores and most of the memory for several minutes. Add PostgreSQL, a log shipper and a monitoring agent and the "minimum" server is swapping.
A practical way to size is to add up four buckets: the panel and its database, each application at steady state, build headroom for the largest project, and storage for images, logs and backups in transit. If the total approaches the host's memory, either size up or move builds to a dedicated build server — Dokploy supports remote servers and build servers.
Disk deserves the same attention. Image layers and build cache accumulate silently; a weekly build cadence can fill a small disk within months. Make pruning a scheduled habit and keep alerts on disk usage. A small swap file is useful as an emergency buffer during builds, but it should not be part of your capacity plan.
Ongoing hygiene after the first hour
The first hour sets the foundation; the next months decide whether it holds.
Patch on a schedule. Self-hosted Dokploy updates are manual by design. Follow release notes and set a regular window.
Review access quarterly. Remove members who no longer need it, rotate API keys and check that roles still match responsibilities.
Verify backups by restoring. A backup job that reports success but cannot be restored is worse than no backup, because it creates false confidence.
Rotate provider credentials periodically. Git tokens, registry passwords and SSH keys held by the panel are high-value secrets.
Watch the outside view. External uptime monitoring catches failures that internal checks miss, especially when the panel itself is unreachable.
Keep the host boring. Avoid installing unrelated services on the Dokploy host. Every additional listener is a potential port conflict and another patching obligation.
Common installation mistakes
Running the installer on a server that already hosts websites, then discovering port 80 or 443 is occupied.
Leaving port 3000 open to the public after setup.
Delaying the admin account creation while the setup screen is reachable.
Exporting
ADVERTISE_ADDRbeforesudo, then wondering why the setting was ignored.Assuming that because the installer starts Traefik with automatic TLS, the panel itself is immediately protected on a domain.
Treating a successful install as the end of the task rather than the beginning of ownership.
Questions to ask before you commit
Before paying for the server, settle four points. Who is allowed to reach the panel, and from which networks? Where will backups live, and who holds the credentials for that destination? What is the plan if the host disappears tonight? And who is responsible for applying the next security release?
Self-hosting changes the answer to each of these from "the vendor handles it" to "we handle it". That is not a reason to avoid Dokploy — it is the reason to adopt it deliberately. A ten-minute install followed by a written answer to those four questions is a healthier start than a polished dashboard with no owner.
The bottom line
Dokploy's installation is genuinely quick. The decisions around it are not. A clean box, a narrow firewall, an immediately secured setup screen and a patched release turn a powerful control panel into a reasonable operational tool. Skip them and you have handed infrastructure access to anyone who finds port 3000 first.
Start on a server that is ready for a PaaS
SysopHost provides clean VPS and dedicated servers with firewall guidance and maintenance options, so Dokploy starts with a solid foundation.
Explore VPS HostingComments
No comments yet. Be the first to comment!